
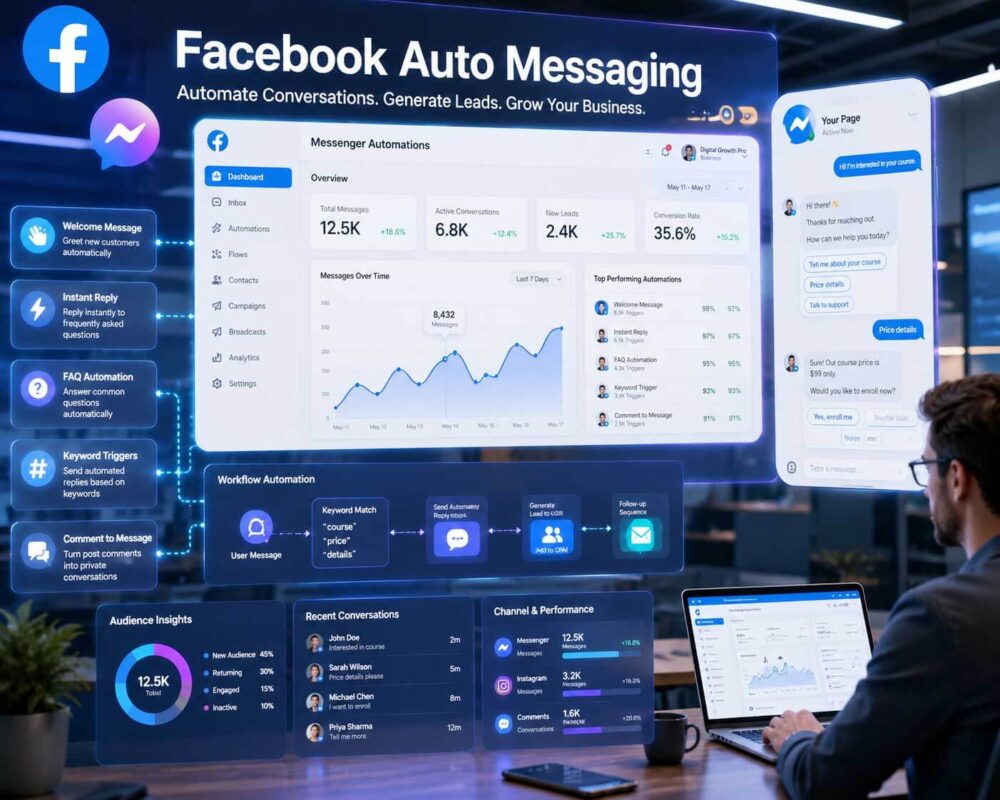
In simple words, Facebook Auto Messaging is like a magical, automated system for your Facebook Page that replies to messages and comments all by itself—without needing a human to sit there 24/7!
If you are an online entrepreneur, freelancer, or student running a page, this system acts like your perfect, unpaid virtual assistant. Whenever someone sends a message, it instantly shoots back a pre-written reply.
What Cool Things Can You Do with This Automation?
Messenger automation comes with some amazing features that make running a page super smooth:
Welcome Message: Automatically greets anyone who messages your page for the very first time.
Auto Reply & Away Message: Instantly replies to customers even when you are asleep, in class, or away on a holiday.
FAQ (Frequently Asked Questions): Saves answers to common questions (like “How much is it?” or “What sizes are available?”) so the system can answer them instantly.
Contact & Location Sharing: Shares your phone number, email, or shop address with just one click.
Comment-to-Message: If someone comments a specific word on your post, the system automatically slides into their inbox with the details.
Custom Keyword Response: If a customer types a specific keyword (like ‘Price’ or ‘Course’), the bot replies with information only about that topic.
A Real-Life Example:
Imagine you sell an online course. At 2:00 AM, a student messages your page asking, “How much is the course fee?” Since you are fast asleep, the auto-reply system instantly sends them the fee structure and the payment link. You didn’t lose a customer just because you were sleeping!
Why Do You Absolutely Need Facebook Auto Messaging?
The hardest part of running an online business or page is replying to messages instantly. Messenger automation makes this a breeze:
24/7 Customer Support: You might be sleeping, eating, or attending a university lecture, but your business never closes. Even if a customer knocks at midnight, they get an instant reply. You never lose a lead!
Freedom from Boring, Repetitive Work: Answering “Bro, what’s the price?”, “Where is your shop?”, “When do you open?” 100 times a day is exhausting. Automation handles these basic FAQs so you can focus on more important things (like studying or scaling your business).
Winning Your Customer’s Heart: Nobody likes to wait hours for a reply anymore. When a customer gets an instant, helpful welcome message, they get a great first impression and trust your brand more.
Turning Comments into Direct Sales: Imagine posting a picture and writing, “Comment ‘YES’ to get the discount link”. The moment someone comments, a message automatically drops into their inbox. It’s the easiest way to generate leads.
Boosting Your Sales: When customers get the exact price or course details at the exact moment they are interested, they make buying decisions much faster. No delays mean more sales!
How to Set It Up: A Step-by-Step Guide
Setting up auto messaging on your Facebook page is 100% free and surprisingly easy. Meta provides this feature right inside the Meta Business Suite. Here is how you do it:
Step 1: Open Meta Business Suite
Log into Facebook on your computer or phone and go to your Page.
Look at the left-side menu and click on Meta Business Suite (or directly type business.facebook.com in your browser).
Step 2: Go to the Automation Section
Inside the Business Suite, click on the Inbox option from the left menu.
Look at the top right corner of your inbox. You will see an Automation button (usually has a little star icon). Click on it.
Step 3: Choose Your Automation Type
You will see a list of automation options. Pick the ones you need:
Instant Reply: Sends a quick welcome message to anyone messaging you for the first time.
Away Message: Keeps customers informed when you are offline (like during night hours or weekends).
Frequently Asked Questions (FAQ): Set up the most common questions your customers ask, along with their answers.
Step 4: Write and Customize Your Message
Click Create Automation or Edit next to the option you want to turn on.
Channel: Check the box for ‘Messenger’ (you can also check Instagram if your accounts are linked).
Message: Write your reply in the text box below. Keep it friendly and clear.
Personalization: Look for a small button below the text box that lets you insert the customer’s name. So, instead of a boring “Hello”, it will automatically say “Hello [Customer’s Name], welcome to our page!”. This makes it feel incredibly human!
Step 5: Save Changes
Once you are happy with your message, just click the Save Changes or Save button in the top right corner. Boom! Your automated assistant is officially live.
